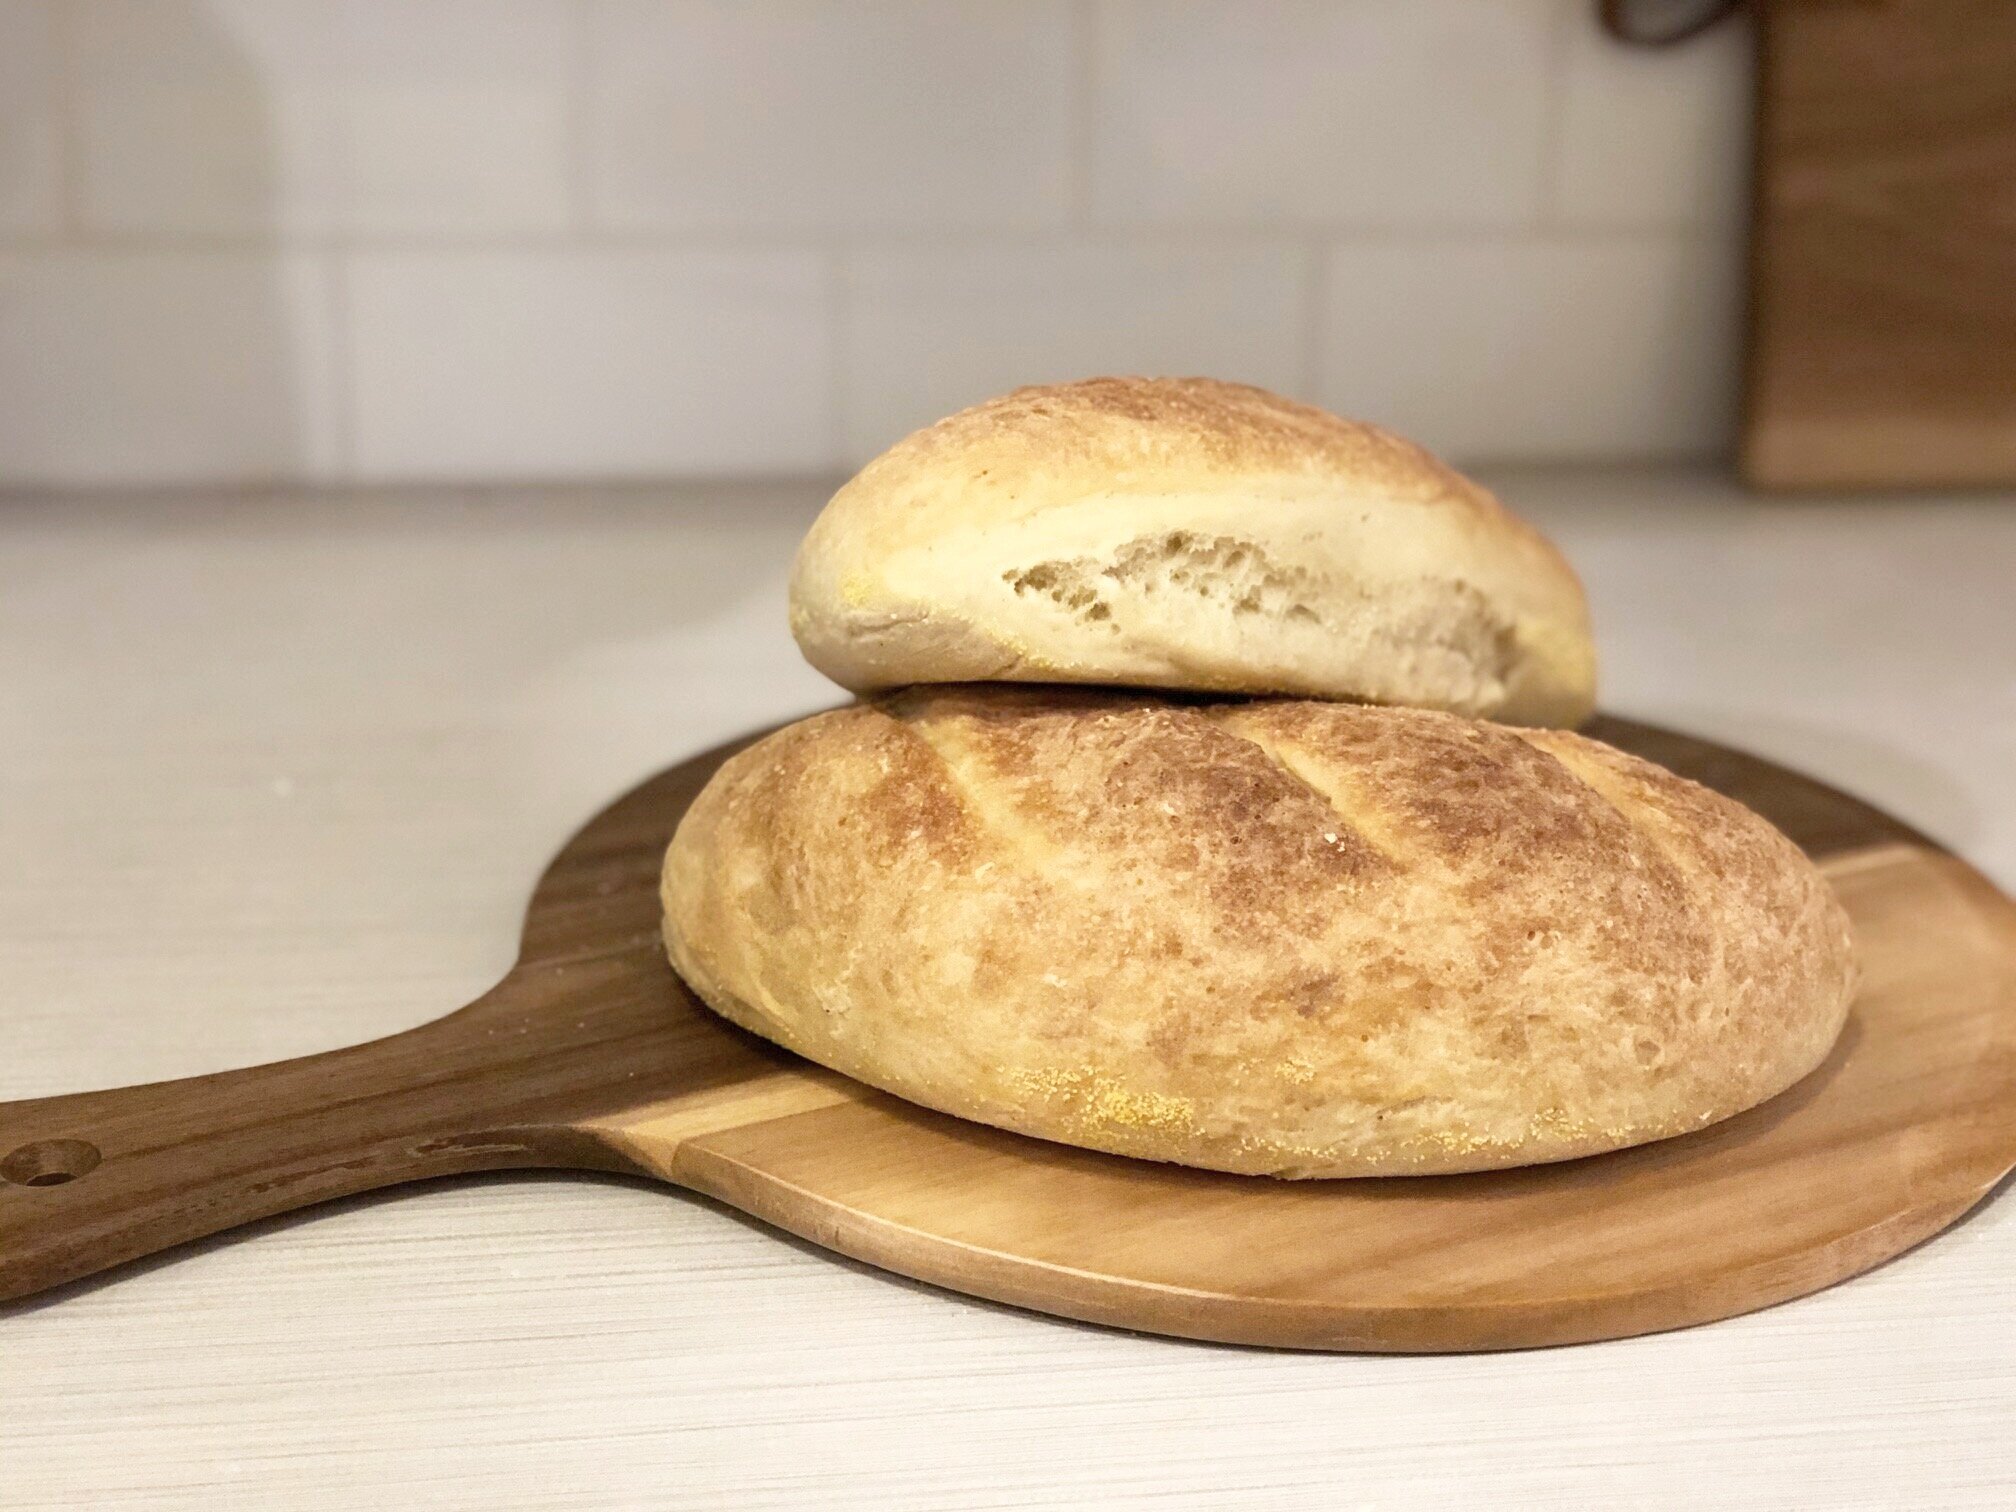
Fresh Bread? Yes, please.
Soup and chili season also calls for fresh baked bread, doesn’t it?
RECIPE: Delicious Homemade Bread
This past weekend just felt like the perfect time to go for it and make bread. I had made both a homemade chicken noodle soup and a turkey chili and decided that I would make a delicious, homemade yeast bread to pair with them. Gosh, was that a good decision.
I tested this recipe out a few times, made some adjustments, and each was tastier than the last. The outside is nice and crusty and the inside is fluffy but not too light. I would love to try baking it on stone (like this one) next time, but I just used a baking sheet and it worked out great. I was so excited when I pulled this one out of the oven! The first time I thought I’d over baked it, but it was definitely under baked. The next time was picture-perfect, but I didn’t take any photos… so I made it a third time to document it!
I don’t usually eat bread (because I don’t buy it) but have now discovered that I will eat all of the bread when it’s homemade. Do you find you do that, too? I ended up giving a loaf to a neighbour because I needed to stop eating fresh baked bread. I have decided that I will hold off on baking more bread until I have guests over who can eat it, too.
This yeast bread is so tasty and very easy to make. You mix the ingredients, knead the dough, let it rise, shape it, and then proof/bake it (I put a baking pan of boiling water in the oven with the dough and let the steam work its magic!)
Just casually stirring together the sugar, salt, yeast, and warm water. They really are friends in this recipe!
Ready for kneading!
Greased and ready to rise.
Doubled in size and ready to shape and bake.
Here are the ingredients and the step-by-step instructions, so you can make your own mouth-watering, fresh-baked yeast bread:
Time: 3-4 hours total
INGREDIENTS:
1 Tbsp active dry yeast
1 Tbsp sugar
1 Tbsp salt
2 cups warm water
5 – 5 ½ cups all purpose unbleached flour
*cornmeal for dusting
DIRECTIONS:
MIX:
Mix sugar, salt, and yeast into a large mixing bowl. Stir in the warm water and let the mixture stand until the yeast is dissolved – 3-5 minutes.
Add the flour one cup at a time, mixing with a wooden spoon. Mix thoroughly until the dough pulls away from the sides of the bowl.
KNEAD:
Move the dough to a floured surface to knead.
Knead for 5-7 minutes. Fold the dough toward you and push down and away with the heel of your hands. Rotate 90 degrees and repeat. *sprinkle with just enough flour to prevent the dough from sticking.
Once done kneading, let the dough sit while you prep the mixing bowl. Scrape it or clean it out, then spray with olive oil (or grease with a tsp of EVOO)
RISE:
Knead the dough for another 2-3 minutes, then place it in the greased mixing bowl. Flip the dough over to ensure it is all greased.
Cover the bowl with a damp towel and let the dough rise for 2 hours (or until the dough doubles in size)
SHAPE:
Lightly punch the dough once to release air bubbles. Cut the dough in half and shape into desired loaf shape. Place on a baking sheet sprinkled with a few tablespoons of cornmeal. Let sit for 10 minutes.
Lightly slice the top of the dough 3+ times on an angle. Transfer to a clean baking sheet and lightly brush (or use your hands) with cold water.
BAKE:
Place an aluminum baking tray on the lower shelf of the oven and fill with 1” of boiling water. Turn the oven on to 400F and place the dough in at the same time.
Bake for 35-45 minutes (including the pre-heat), until the loaves are golden brown. Remove from the oven and let cool for 15-20 minutes before you dig in.
Once the bread has rested, slice it up, slather it with whatever you desire (a tasty spread, peanut butter, jam, etc.) and enjoy. Bon appétit!
Hello! Catherine here.
I’m a Vancouver-based interior designer and love all things creative! I’ll be sharing things that inspire me, posting design tips and DIY projects, chatting about all kinds of topics, and hopefully inspiring some people to make little changes at home to create an environment that is functional, beautiful, and a perfect reflection of you!


